Bed Level Correction process
Source: Thingiverse by davidhbrown
The Bed Level Correction process is a free printable 3D model from Thingiverse by davidhbrown. (Work-in-progress... You can download the STL file from the original listing below and print it at home.

About this model
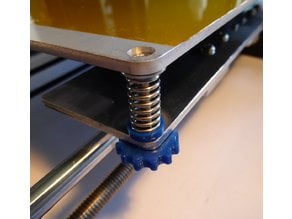
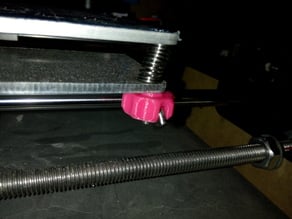
(Work-in-progress... would be delighted to incorporate suggestions for improvement. Please comment or message me. Edits 2018-08-05 added pictures of too-low Z height at bottom.) When I got my Prusa i3 MK2s up and running, I was intrigued by the "Bed Level Correction" settings. The provided instructions are minimal, but they got me started. I suspect that other printers with a similar firmware could use this process. You must complete the basic first layer calibration before attempting this process. It would also be prudent if you have calibrated your extruder; I'm sure that under- or over-extrusion will affect the thickness of the first layer, and that's what you're going to be measuring. You will need a micrometer or caliper for measuring the patches. 1. Create the test patches .stl file …
Frequently asked questions
- Is this 3D model free to download?
- Yes. Bed Level Correction process is free to download from Thingiverse. Click the "Download free STL" button above to open the original listing.
- Where is the STL hosted?
- The download is hosted by Thingiverse, not by Thinger. We link you directly to the original listing by davidhbrown.
- Who made this model?
- Designed by davidhbrown, published on Thingiverse. Please credit the creator when sharing your print online.
- Can I print this at home?
- Yes. This model is intended for home FDM and resin 3D printers. Check the original listing for suggested print settings like layer height and supports.
Similar 3D models in Bed